
29
Aug
Airtame – How To Connect
Using Airtame to share your screen and audio
AirTame is a wireless presentation solution installed in multi:
Steps to connect:
1. To use AirTame, make sure the projector in the room is turned on.
2. Look for the AirTame app on the desktop or taskbar.

3. Open AirTame.
4. Enter the IP address that appears on the projector screen at the front of the room.

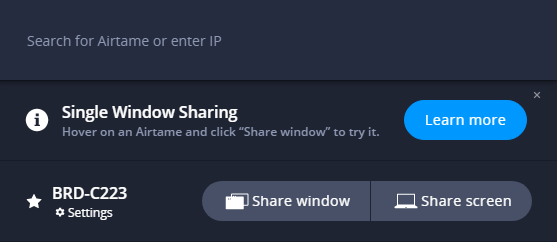
5. You can share your entire Screen, or just a window. If you want to share a window, click ‘Window’ and then click to select the window you want to share.

To play audio through the system, click turn toggle the audio on or off.
6. When you are finished projecting, click the Stop button. Close your programs, log out of computer and turn off the projector.
PDF Instructions